 Students will go on an imagination adventure to find plant life on Mars! I start the lesson by showing this Youtube video of an actual astronaut reading "Hey-Ho to Mars We Go!" After the video I add my own ending to the book. Students should close their eyes or put their heads down as they imagine the story I tell.
Last night you saw bright lights shining outside of your window. You tip-toed outside to see what was shining so bright. As you opened the door you saw 2 astronauts and a rocket ship in your very own yard. Rubbing your eyes and pinching yourself to see if you were dreaming you heard a voice say "Hello!" You have been chosen to go on a mission to Mars to find and photograph plant-life. If you accept you need to immediately pack for a 6 months trip in a space craft." Well of course you accept. Who wouldn't?? You grab your stuff, say bye to your parents, and enter the spacecraft. 5,4,3,2,1! You blast off. After 6 months you land on the beautiful red planet of Mars. The hatch opens and with your special space suit on you begin your search for plant life. It doesn't take you long to see what appears to be a forest in the distance. As you approach you see that those are no ordinary plants! You've never seen such weird, wild, a little scary, a little funny plants, trees, and some strange looking fruit. You start taking picture after picture, when suddenly you hear a strange noise, the ground starts to shake. You immediately run as fast your space suit allows back to your space craft as you see a huge volcano begin to erupt. Phew, that was close. You travel back to earth to show your pictures to the world. However, when you reach earth you realize you left your camera on Mars. UH-OH! Now you will have to draw the plants, trees, and crazy fruit you saw on Mars. I end the story at this point and ask the students to draw what they imagined the plants, trees, and fruits looked like on Mars. I encourage them to be creative and make them look like something they have never seen on earth. After sketching they will pick one of their ideas to redraw for their final draft of the project.
0 Comments
 We have drawn lines so now we will use our fine motor skills to cut lines and form them into 3 Dimensional paper water slides.  Supplies: Different colors of paper or magazine pages, glue, and scissors. I recently found this cute video about lines that I have been showing to the students. Warning, the song gets stuck in your head. HaHa! LINE SONG Students need one whole piece of paper to glue their "water slides" to. I discuss how water slides are basically shaped like different kinds of lines. You might want to search for pictures of water slides. Name some of the lines that the slides resemble. I then demonstrate cutting a few different types of lines. The students love watching me cut a swirly line. Next, I show the students how to create a tab at the end of the lines to put the glue onto.  I do a short demonstration of how to make the lines "stand up" or "pop" off the paper. A great tip to getting the lines to stick is to hold the tabs with glue down on the paper for the count of 10. 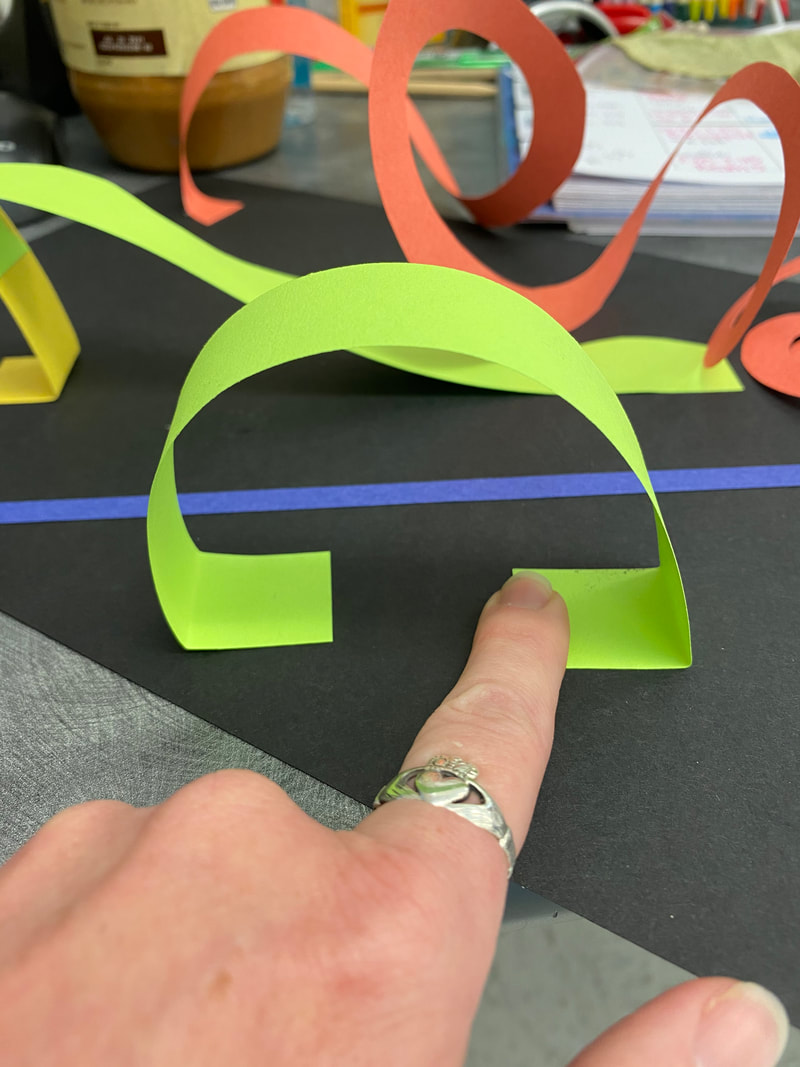 At this point I let them start creating. I love seeing what they come up with.
 One of my favorite books in the art room is The Dot by Peter Reynolds. It's wonderful story of having a growth mindset and seeing the beauty in simple things. There is also a day to honor the dot, of course, right. International Dot Day is September 15th. Dots are really what any work of 2D and sometimes 3D work start with. The moment your pencil hits the paper you have a dot. What that becomes is up to you. We will be reading The Dot in class. If you are virtual you can find many YouTube readings of The Dot. I have linked one that I often use below. https://www.youtube.com/watch?v=t5mGeR4AQdM Supplies: paper, pencil, crayons or markers, plate or large round lid. Once we have read the book we will begin creating our dots. We will practice our tracing skills by tracing a plate or other large round object onto a piece of paper. I review tracing skills with the students just to remind them how to successfully trace an object. Tracing is done by using one hand to hold the center of the object while your hand holding the pencil draws right up against the edge of the object you are tracing. When your pencil holding hand runs into the other hand you "hop" over it and connect your pencil to the line and continue on tracing.  It's okay if they mess up or have a little bump in their circle. Once they have the circle traced we will begin discussing different types of lines. I always let the kids name the lines they know instead of just telling them. Here are some examples I pulled from www.myartteacher.org 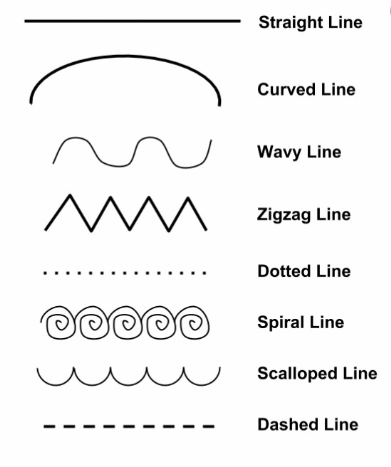 We will spend a little bit of time reviewing pattern. A pattern is a group of objects that repeat over and over in a picture, on fabric, wallpaper, and many other things. Once we have discussed pattern the students will be asked to create a pattern of lines inside their circle using a pencil. I usually don't give them too much direction on how to draw the patterns of lines inside their circles. I like to see how each individual student plans it out.
Once the student has their line pattern completed I usually have them trace it with a black crayon or sharpie. They also trace the circle.
Color! Adding color is my favorite. You can color it in with whatever tools you have at your house or in your class. Cut them out and hang them up for International Dot Day on September 15th! As always I'd love to see your child's work and any extra things you might do to celebrate Dot Day. |
AuthorMrs. Lindsay Black |


 RSS Feed
