|
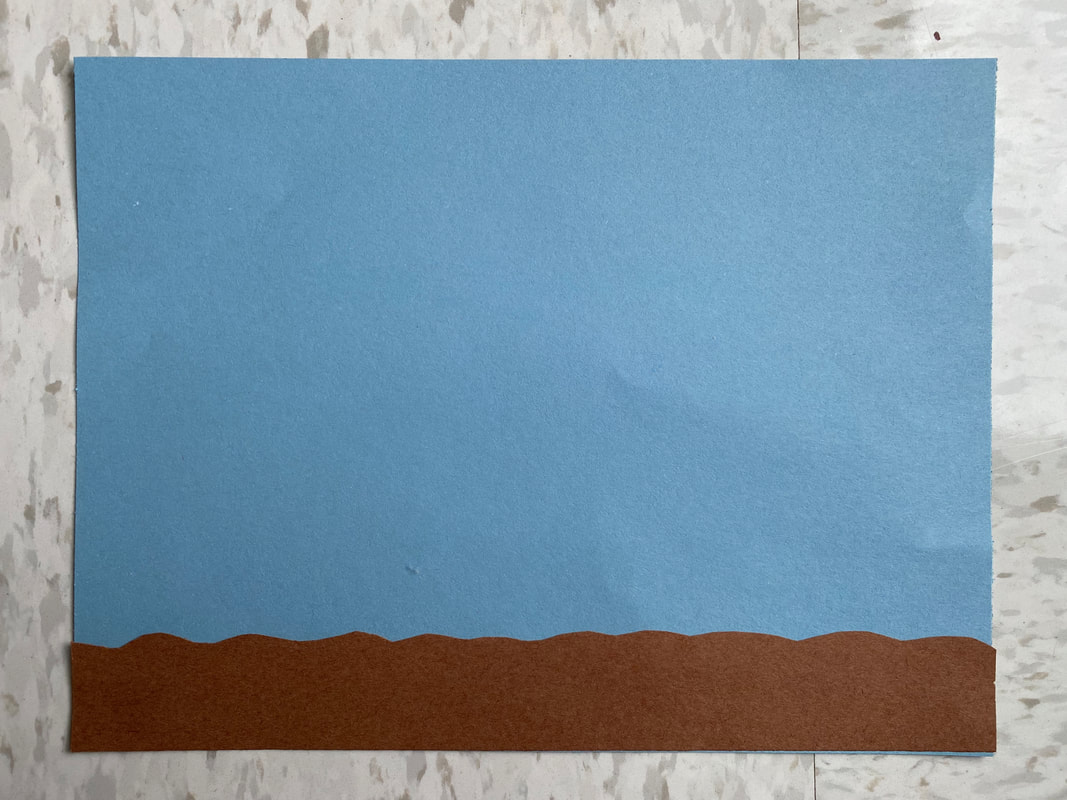
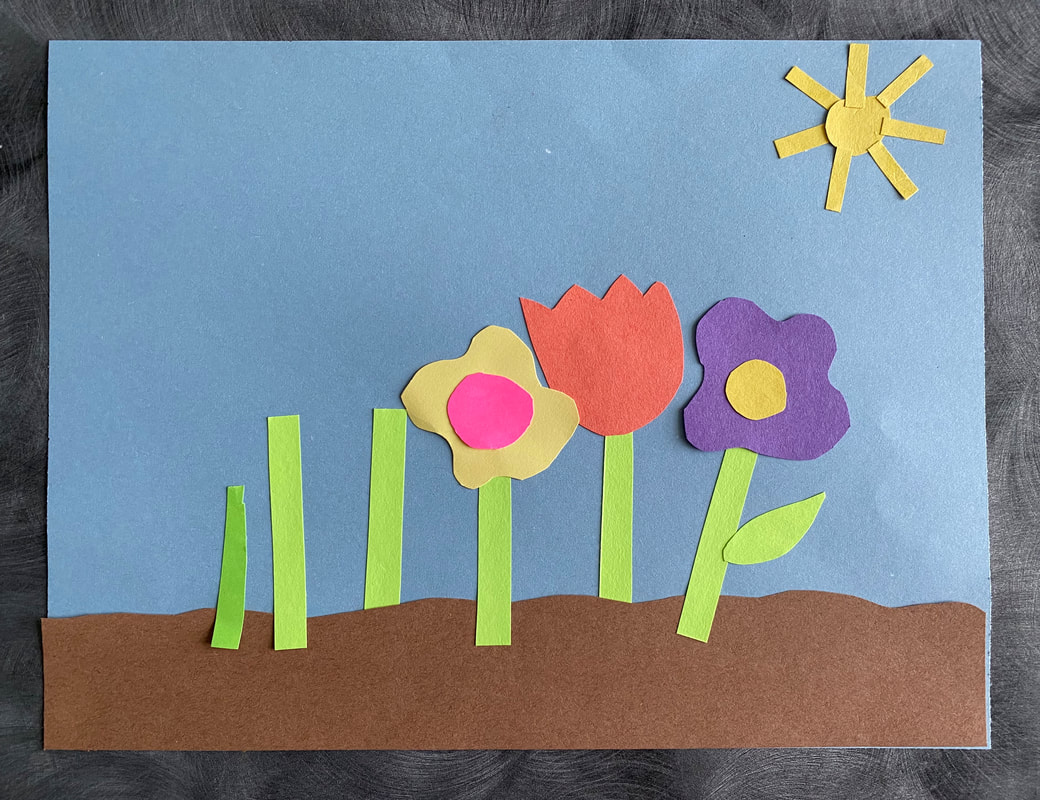
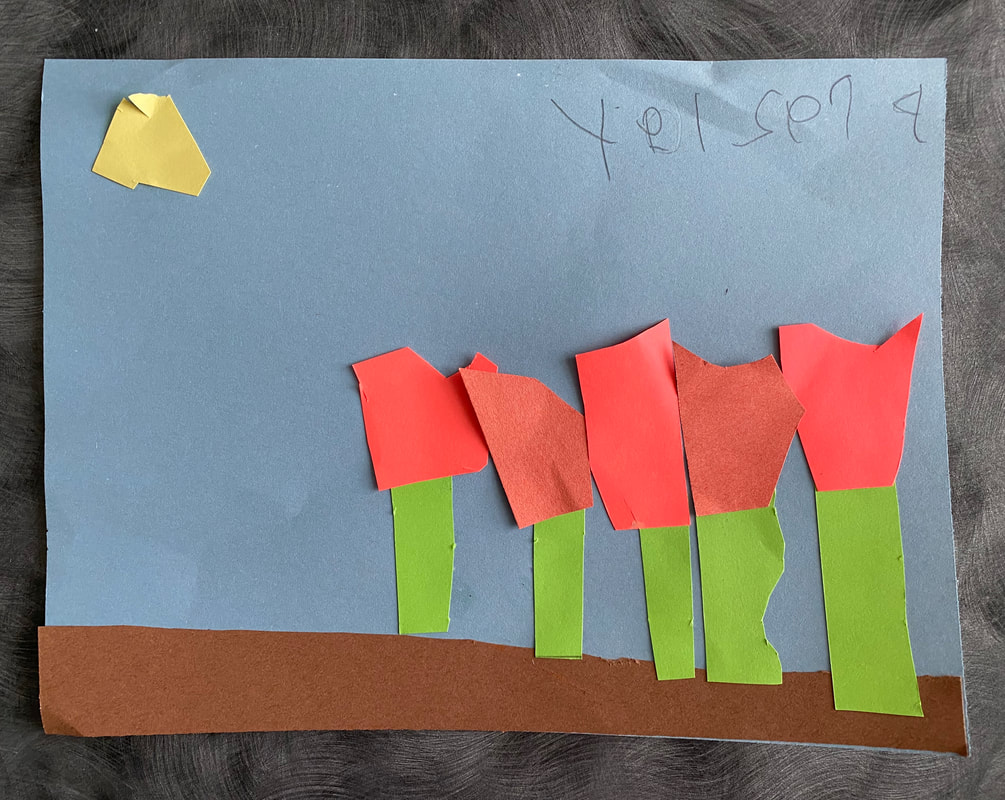
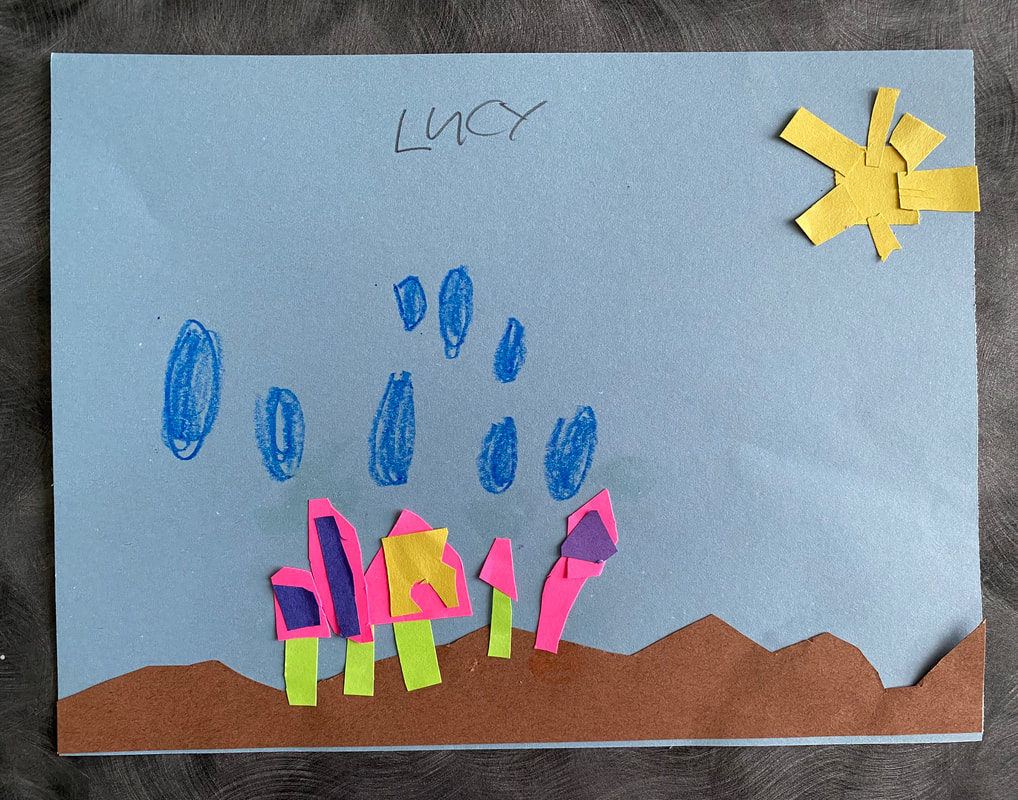
Our Stem focus this year is all about PLANTS. I will incorporating this focus into some of our art projects this year. I love plants so much! Kindergarten will be using their scissors skills and new knowledge of lines to create a construction paper garden. If you do not have construction that's alright. The students can color some paper before cutting it out. Don't have the draw specific flower shapes though. Just have them color the paper in with blocks of colors. I am challenging the students to only use paper, scissors, and glue for this project in art class. No pencils or crayons to pre-draw the flowers. First, I begin by asking the students what flowers need to grow. Next, I do a quick demonstration on how to cut different types of lines for bumpy dirt, straight stems, and curvy or zigzag shaped flowers. Then, I show them the best way to use the glue. I tell them that it is best to put the glue on the back of the shapes they have cut out, not the base paper. Finally, I remind them of scissor safety and send them to their seats to begin their projects. Most students begin by cutting the dirt and then work on the stems and flowers. I demonstrate what overlapping means and encourage them to overlap the flowers or add a second color to the flowers. Students have also added a sun and some have added rain or some water source.
0 Comments
 The Kindergartners have LOVED getting to know Mr. Brush. He's even been helping us with our scissors skills. Have your student color in Mr. Brush's body and his eyes from the attached page. Don't forget to add his famous smile. Mr. Brush loves all colors. Feel free to encourage your child to color him any color. After they have colored his body and eyes they will cut him out and glue him down to another paper. 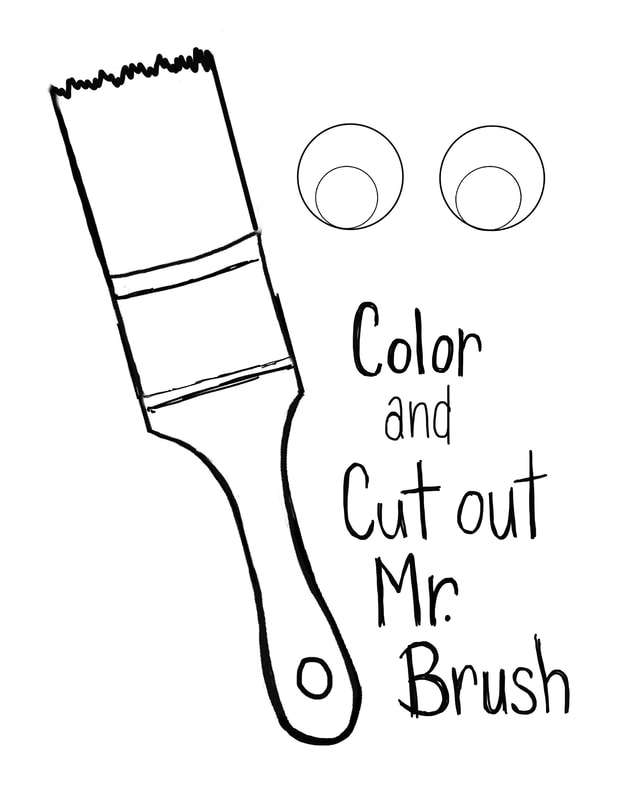 Welcome to Art!I am so super excited to meet your sweet kindergartners! The first week we will be covering basic art room procedures like finding a seat, raising our hand, and taking a tour of the bathrooms in the hallway. Just wanted to let you know that I do not have a bathroom in the art room. Please help me by reminding your child to try and use the bathroom before they come to art class. I will always let them go if they need to go, however, they will have to leave the classroom and go out to the bathrooms in the hallway. Unfortunately, those doors are heavy and sometimes difficult for the littles to open. Also, I do worry about them being out of the art room when they are new to the school. The second week we will begin working on scissors skills. A simple tool for us adults. They are kinda like riding a bike once you get the hang of them. Until that moment though they can be a source of frustration. I like to break it down in a funny sort of way. Let's start with a fun diagram with Mrs. Black's special labels for the parts of a pair of scissors. 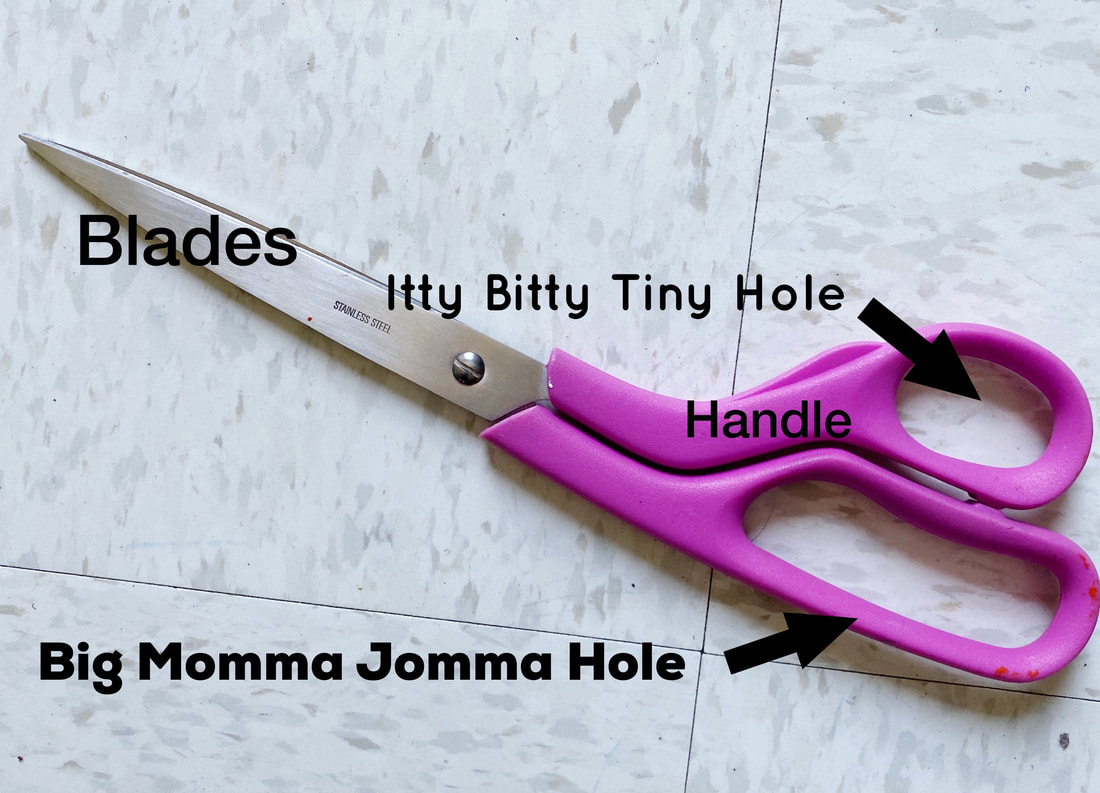 So I know phrases like "Big Momma Jomma Hole" and "Itty Bitty Tiny Hole" might sound funny, but it REALLY helps the students remember where to put their thumb(Itty Bitty Tiny Hole) and fingers(Big Momma Jomma Hole). I also say "Big Momma Jomma Hole" using a deep voice and "Itty Bitty Tiny Hole" using a squeeky mouse-like voice. I have the quickest learning of the skill using this method. Also, the thumb inside the "Itty Bitty Tiny Hole" should be top facing when holding the scissors. So I say "Thumbs UP!" Scissor SafetyThis SO important. Here are a few of my safety guidelines:
Practice, Practice, PracticeYou can either draw lines on your own paper like below or print the image for your child to practice cutting lines. Watch them as they cut and make corrections to how they are holding them as needed. It's so amazing to see what a little adjustment to how they are holding the scissors can make while cutting. I love the "Wow! I did it!" reaction on their faces. 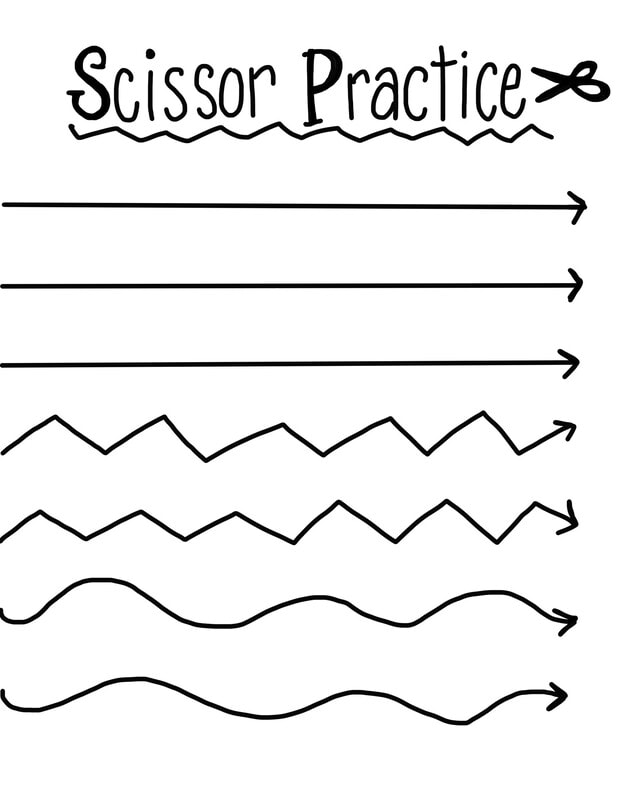 |
By:
|


 RSS Feed
